
Last updated November 22, 2026
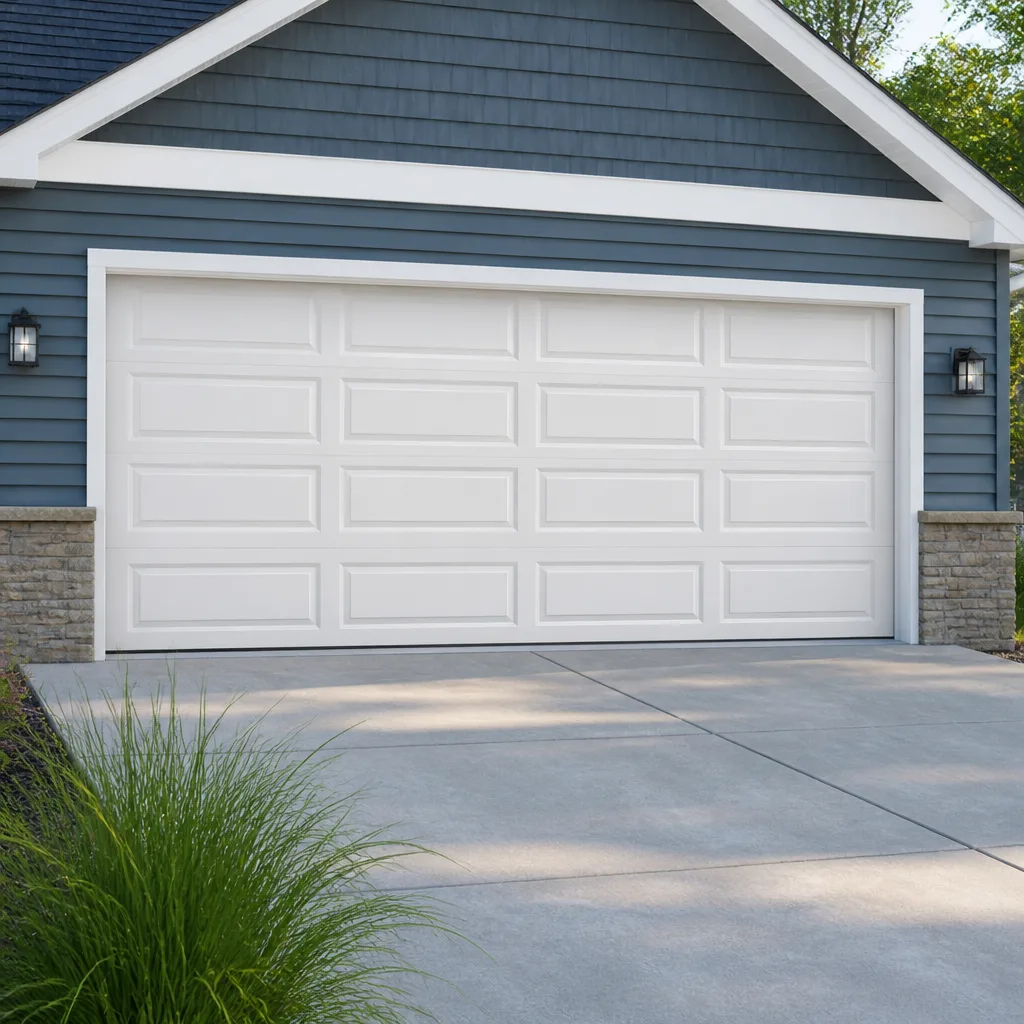 Raised-panel steel
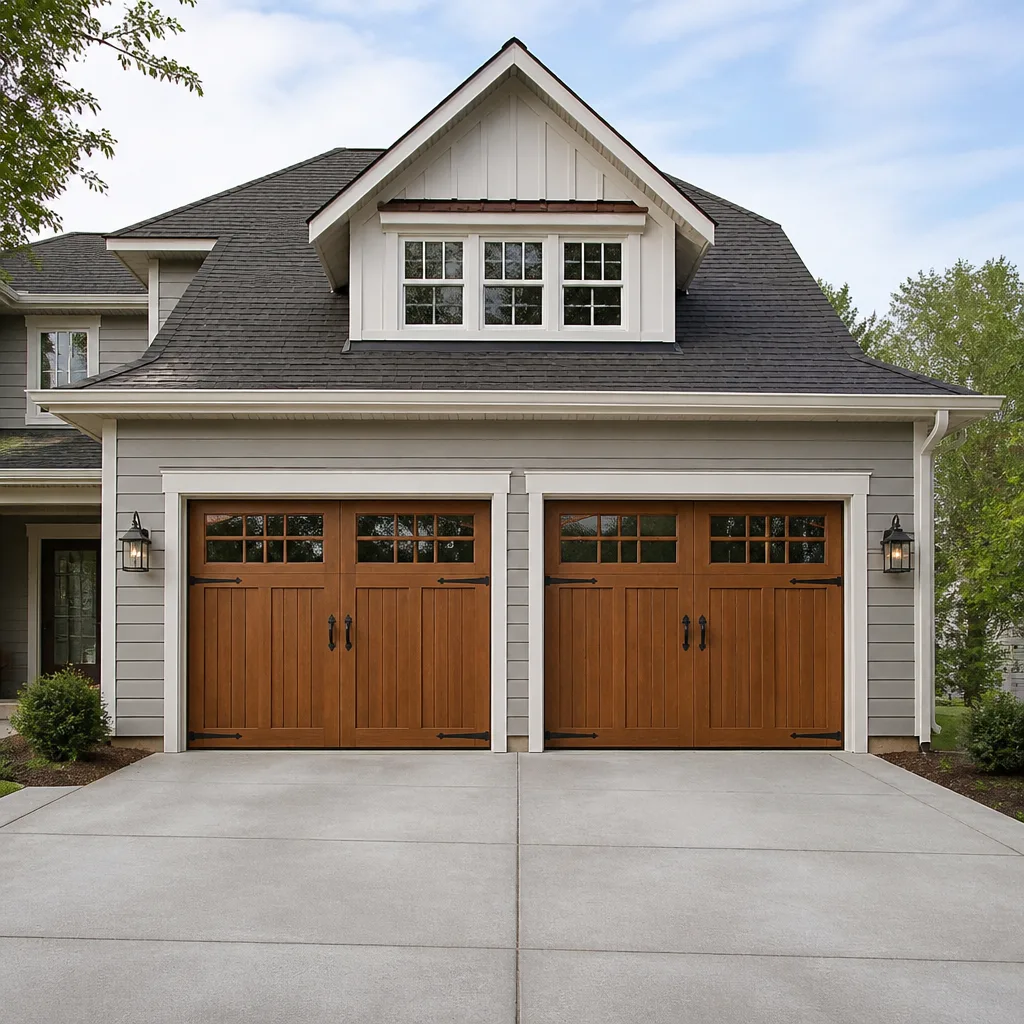 Carriage house
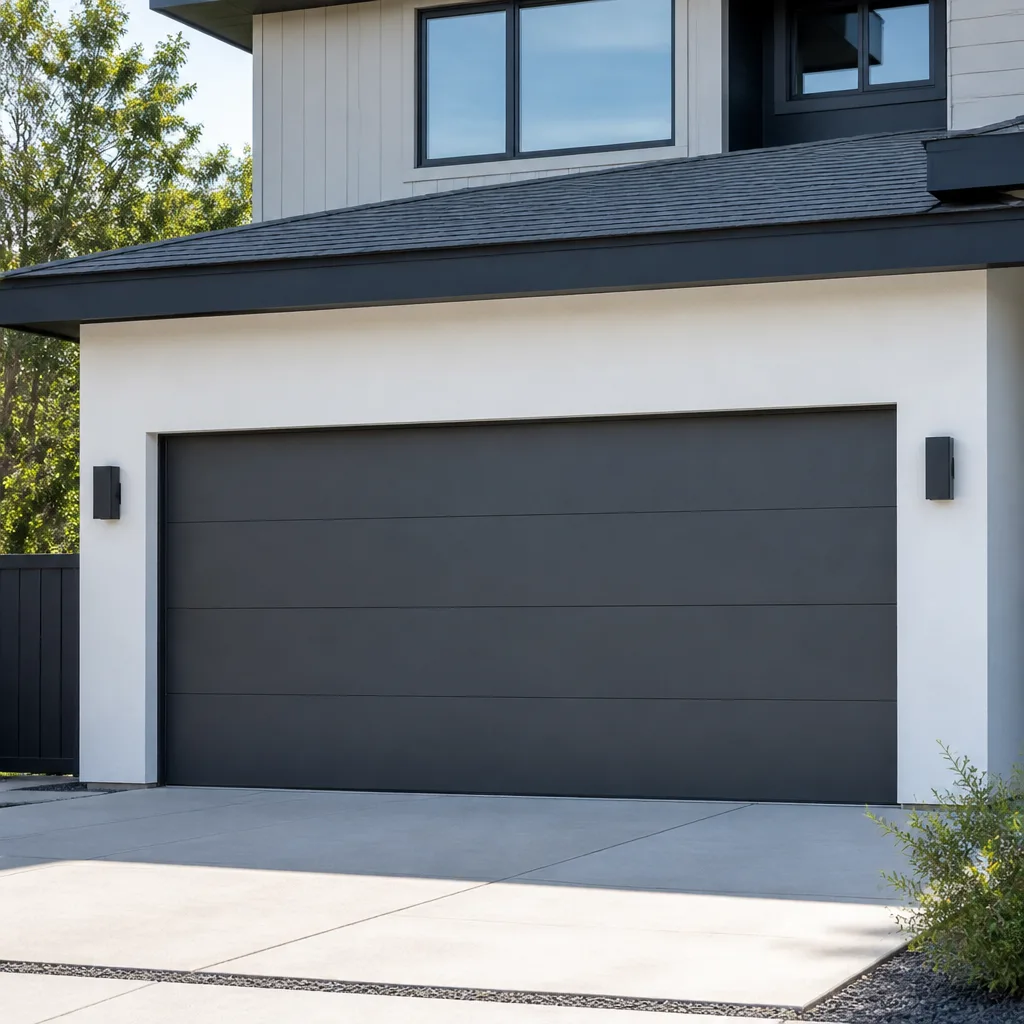 Modern flush
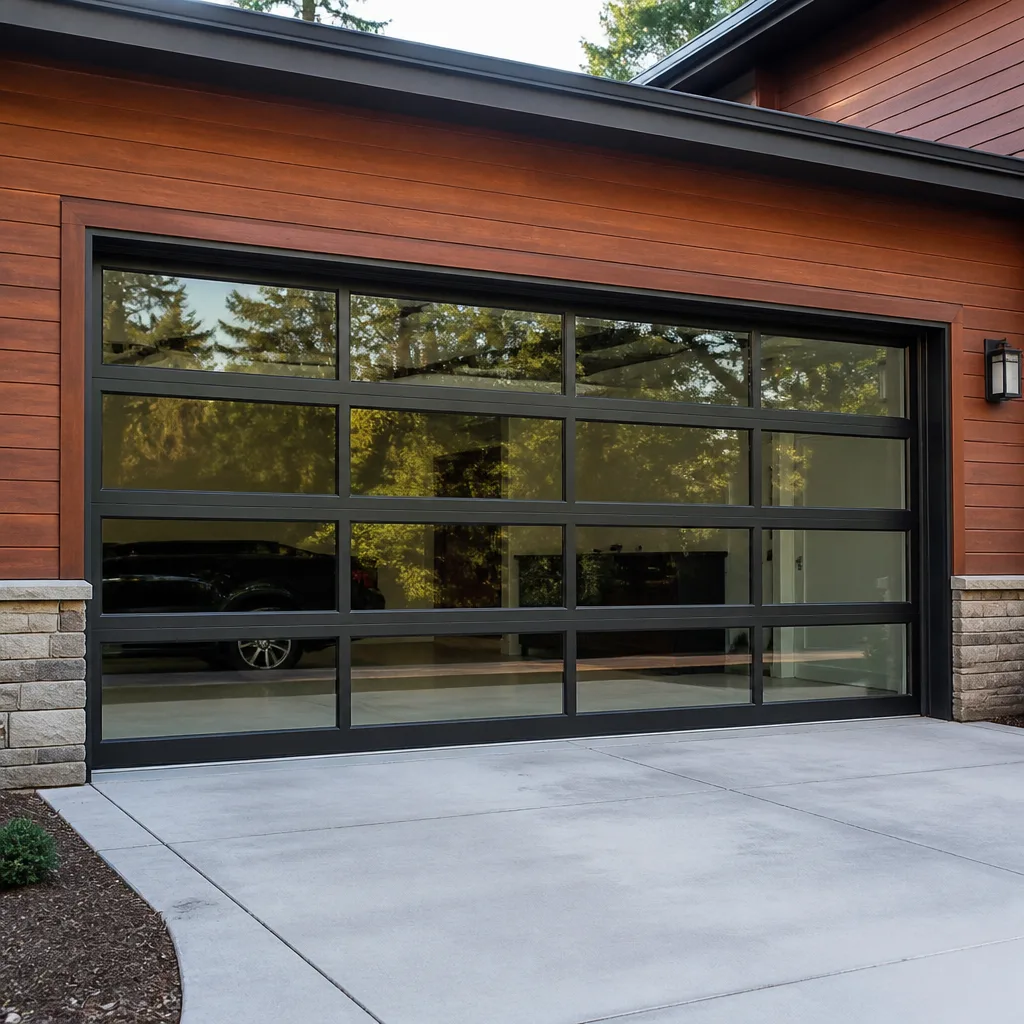 Full-view glass
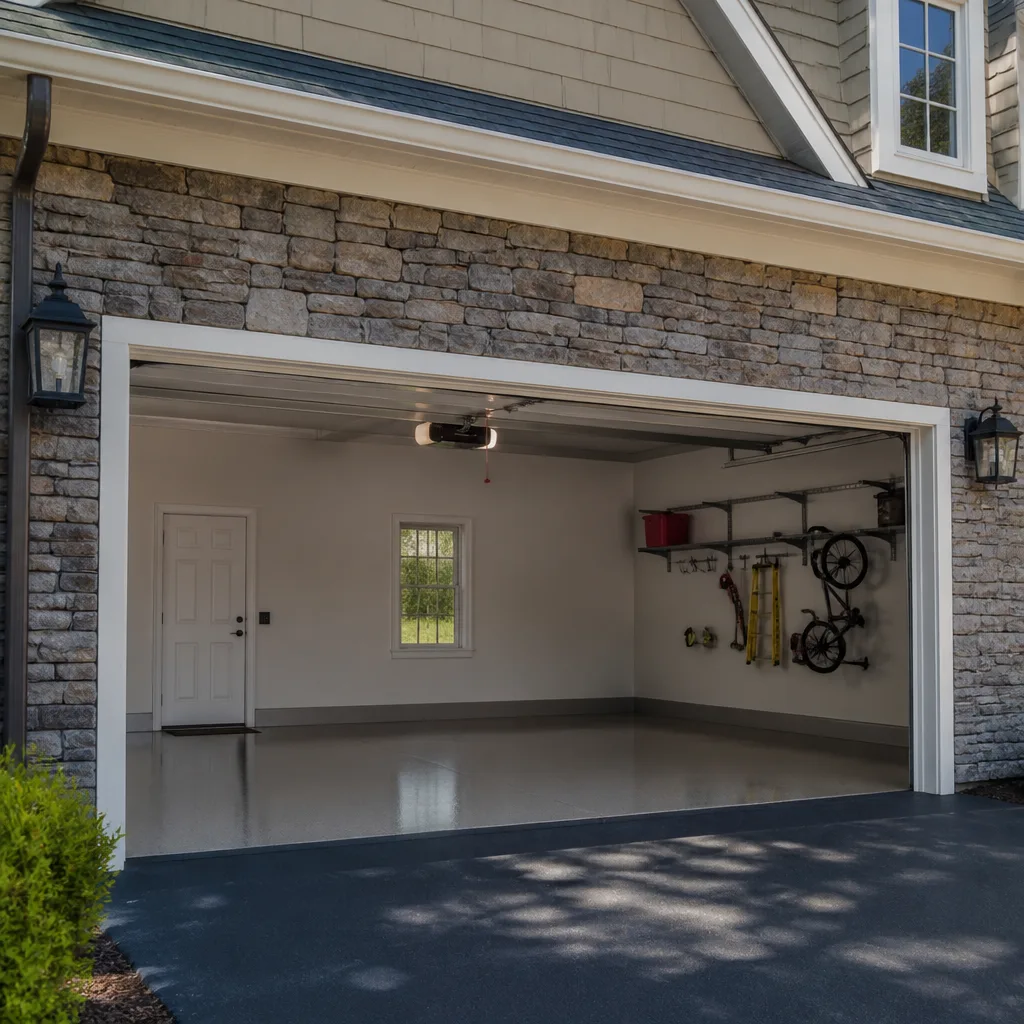 LiftMaster openers
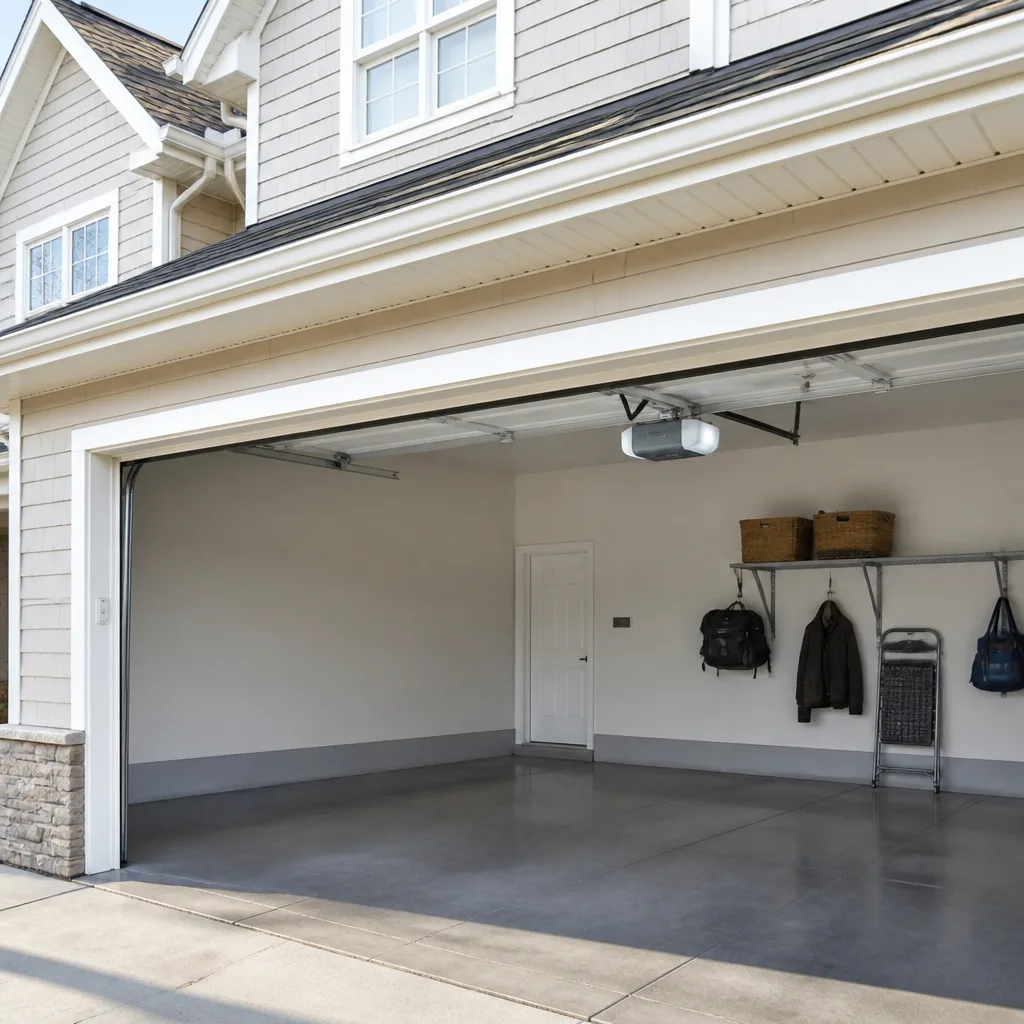 Chamberlain openers
Full 25-point door and opener safety check with every visit - springs, cables, rollers, tracks, and your LiftMaster or Chamberlain opener included
You get a price before we start. It does not change when the pro arrives.
Get your free estimateGarage Door Repair Maintenance Checklist for Dunedin Homeowners
The number one reason Dunedin garage doors fail early isn’t neglect. It’s a maintenance schedule copied from a cold-climate guide written 1,000 miles away. Up north, a door fights ice and snow load. Here it fights Gulf humidity, salt air pushed in on the seabreeze, and a wet-dry season cycle that swells wood, stiffens rubber and works fasteners loose. The standard checklist most homeowners follow misses all of that. We’ve rebuilt the list around what actually wears out on a Dunedin door, and added the six checks that only matter in this climate. By the end you’ll know what you can safely inspect yourself, what to lubricate and when, and which checks belong to a trained technician.
Quick Answer
A solid garage door maintenance checklist for Dunedin means monthly visual checks of the rollers, hinges, weatherstripping and springs, lubrication of moving parts four times a year, a balance test every few months, and a professional inspection once a year. What makes a Dunedin schedule different is timing: the real maintenance year is built around the wet season, when humidity climbs, rather than around a calendar you copied from a northern site. The number-one overlooked detail is checking the garage door opener’s force and travel settings quarterly, because Florida heat drifts them.
Styles & brands we work with
- Raised-panel steel
- Carriage house
- Modern flush
- Full-view glass
- LiftMaster openers
- Chamberlain openers
Table of Contents
- Why a Generic Maintenance Schedule Fails in Dunedin
- The Monthly Visual Checklist
- Where Rust Starts First on a Dunedin Garage Door
- Before and After the Rainy Season: A Lubrication Calendar
- Spring Tension: What You Can Safely Check and What You Can’t
- Why Weatherstripping Fails Faster in Florida
- Opener Settings That Drift in Florida Heat
- The Annual Professional Inspection
- Common Mistakes to Avoid
Why a Generic Maintenance Schedule Fails in Dunedin
A maintenance plan written for the Midwest assumes a stable, cool, dry climate. Dunedin doesn’t have one. Summer humidity sits high for months, then the wet season delivers consistent afternoon rain, then the dry season pulls moisture back out of everything. That expansion and contraction cycle happens over and over across the year, and it affects a garage door like a slow workout. Wood panels swell and shrink. Steel panels and hinges collect condensation. Rubber seals take a beating. Fasteners that were tight in April are loose by October.
There’s a second local factor: salt air. Dunedin sits on a peninsula between the Gulf and St. Joseph Sound, so marine air reaches most of the city, from the neighborhood streets near Edgewater Drive to homes along Bayshore. Salt accelerates oxidation on unpainted metal. It doesn’t eat through a door overnight, but it quietly starts rust in the places a homeowner never looks.
So the schedule you’ll find on most garage door websites is half wrong for this city. It tells you to lubricate twice a year. It tells you to inspect once and call it done. What it doesn’t tell you is that a Dunedin door needs a moisture-driven schedule, not a calendar one, and it needs specific attention on the parts most exposed to salty, humid air. If you’re searching for a garage door maintenance checklist in Dunedin FL, this is the one written for the conditions your door actually lives in.
The Monthly Visual Checklist
None of these checks require a technician, and every one of them can catch a problem before it turns into a repair bill. Do them by eye and by hand, without tools, and stand clear of the door while the opener runs.
- Look at the door from inside while it rises and lowers. It should move evenly and sit level. A door that climbs crooked means a problem with the springs, cables or tracks.
- Check the weatherstripping around the door perimeter. Run a hand along it and feel for cracks, gaps or hardened rubber.
- Look at the bottom seal against the floor. In Dunedin it should contact the ground evenly across its width. Gaps mean daylight shows through and small animals get in.
- Scan the track for dents, debris and rust spots. A small dent can catch a roller and cause a slow grind.
- Check the hinges and roller brackets for tightness. They should feel snug against the panel.
- Look for rust or bubbles in the paint on the door panels, especially at the bottom edge and around the hinge points.
- Test the safety reverse. Put a block of wood flat on the ground under the closing door and confirm the door reverses when it hits it.
- Check the photo-eye alignment. Wave a hand in front of the sensors on either side of the opening and confirm the opener responds.
That’s five minutes once a month. Most of what we see during a routine garage door repair visit in Dunedin started as something small that a homeowner could have caught by eye weeks earlier.
Where Rust Starts First on a Dunedin Garage Door
Rust on a Dunedin garage door almost always starts in the same three places, all of them near the ground or near hardware. Look at those spots first, especially on doors facing the water or the open breeze.
- The bottom panel’s lower edge. Water splashed back by rain on the driveway collects on the bottom lip and sits against the metal or wood. This is the first spot on nearly every door we inspect.
- Hinge plates and roller brackets. Salt-laden air settles on these painted steel parts, and their edges hold moisture against the door. Rust runs from the screw holes outward.
- The track’s lower curve and the bottom bracket. Ground splash and condensation collect here. If you see orange streaks under the bottom corners of the tracks, corrosion has started.
- Panel seams on steel doors. The pressed seam between panels traps water. Look for paint bubbling along the horizontal seams, not the flat faces.
- Springs and the center bearing plate. Spring hardware is typically oil-tempered steel and will surface-rust in humid air. Surface rust alone doesn’t mean a spring is failing, but it’s worth knowing it’s there.
The check itself is easy: get down close to the bottom of the door with a flashlight and look at the corners and hardware first. On painted steel doors, touch up a chipped area with a matching paint before a rust spot gets a chance to spread. Wood doors that have developed raised grain or dark patches around the bottom panel need attention, because moisture has already worked in. If corrosion is heavier than touch-up can handle, a technician can tell you whether a section replacement or a full door is the smarter call. That’s the kind of honest diagnosis a real specialist gives before touching anything.
Before and After the Rainy Season: A Lubrication Calendar
Lubrication in Dunedin should follow the weather, not the month. The two anchor points are the start of the wet season and the end of it. Between those, add a check or two during the dry season to keep parts moving freely.
- Early wet season (as rain becomes regular): lubricate rollers, hinges, the torsion bar bearings and the opener rail with a garage door grease or silicone spray. Do this before the humid stretch, not after problems show up.
- Mid wet season (halfway through): a quick recheck. High humidity can thin out grease and let it migrate away from pivot points. Touch up anything that feels dry.
- End of wet season (drying begins): clean the door’s tracks with a rag and a mild cleaner, then re-wipe the moving hardware and apply a fresh coat of grease to the hinges and rollers.
- Dry season (twice, spaced a few months apart): a light check with a finger on the hinges and the center bearing. Dry air dries out grease faster than you’d think.
Use door-specific grease or a silicone-based spray. Avoid heavy oil on the tracks themselves; it collects grit and turns into a paste that makes rollers skid. And never spray lubricant on a torsion spring; some spring lubricants accelerate corrosion, so leave spring care to a technician. If you’re not sure what goes where, we can show you on the first visit and you can take it from there. Spring, roller, hinge and track problems are all covered under one call for garage door spring repair and related wear items.
Spring Tension: What You Can Safely Check and What You Can’t
Here’s the distinction that matters most. You can safely check whether your door is balanced. You cannot safely touch the springs themselves. A torsion spring is under enough tension to cause serious injury if it releases unexpectedly, and adjustment requires special tools and training. That’s not a warning we throw around to sell a service. It’s the truth of the trade.
The safe check: door balance.
- Close the door fully and pull the opener’s release cord to disconnect the door from the opener.
- Lift the door by hand to about halfway open, and let go gently.
- A balanced door should stay put or drift only slightly. A door that falls, or that takes real effort to lift, has a spring problem.
- Reconnect the opener.
If the door fails the balance test, don’t try to fix the springs. Call a technician. Springs also age quietly in this climate: humidity and salt don’t break them directly, but they can accelerate fatigue and rust on the coils. The other safe thing you can do is listen. A clunk or twang when the door opens or closes, a door that feels heavier than it used to, or visible separation in a spring coil are all reasons to stop using the door and get it inspected. Broken springs are one of the most common emergency calls we field in Dunedin, and we treat spring repair as a specialty in its own right. When a spring does let go, the door should be left down until a professional can get to it. If you need help, call (877) 492-3256 and we’ll get you on the schedule.
Why Weatherstripping Fails Faster in Florida
Weatherstripping in Dunedin lives a tougher life than the same material up north. The two enemies are consistent high humidity and intense UV from the Florida sun. Humidity softens and swells rubber and foam; UV through the opening dries and cracks the exposed edges. Add the wet-dry cycle and the stripping goes hard, shrinks and separates from the door earlier than most homeowners expect.
The signs are easy to spot: the rubber feels brittle or crumbly when you bend it, you can see cracks running through the bulb, the stripping has pulled away from the door edge, or the bottom seal shows gaps against the floor. Any of those means it’s time to replace rather than patch, because a separated seal lets in water, insects and heat.
When you replace, choose the material for a high-humidity climate. Look for EPDM rubber or a vinyl that’s rated for exterior use, and avoid cheap foam stripping on the bottom, which drinks water and fails fast. A solid bottom seal with a small weep path for water is better than a hollow bulb that fills. If you’re unsure which material fits your door’s channel, bring the old piece to a supplier or ask us when we’re on site. Also worth knowing: the weatherstripping is one of the cheapest parts on the whole door to replace, and replacing it in a timely way protects the panels and the opener from water intrusion.
Opener Settings That Drift in Florida Heat
Your garage door opener’s force and travel settings are the two you should recheck quarterly in Dunedin. The reason is heat. Openers are set at the factory for a temperature range, and once they’re installed in a garage that hits triple digits in the summer, the force calibration can drift, the limits can creep, and the safety reverse can become sluggish. It’s not a broken opener. It’s a setup that’s slowly come out of tune.
Force setting. Most openers have a force adjustment screw or a digital menu on newer models. The force setting controls how much pressure the opener applies to move the door. Too high, and the opener pushes through obstacles; too low, and the door stops halfway. Because heat changes how freely a door moves, the sweet spot moves too. On LiftMaster and Chamberlain units the adjustment is usually under a small cover on the motor housing or through the control panel, but check your manual for the specific model before touching it.
Safety reverse. This is the non-negotiable one. With a block of wood on the floor beneath the closing door, the door must reverse when it meets the block. Test it monthly. If it doesn’t reverse, stop using the opener until it’s fixed.
Travel limits. The door should close fully against the floor and open fully without hitting the header. In heat, the open limit can drift and leave the door short of the top, or the close limit can leave a gap at the floor. Check it quarterly.
If the door and opener feel like they’re fighting each other, or if the opener seems louder than it did last season, the diagnosis may be in the door’s balance or a worn part rather than the opener. That’s why we look at the whole system during an opener repair. All of this is routine on a Genie or a Chamberlain unit, and the settings come back into spec in a few minutes once you know what you’re looking for.
The Annual Professional Inspection
Once a year, some checks need hands and eyes that a homeowner shouldn’t supply. This is where we step in, and it’s what separates a real annual service from a guy with a can of oil.
During a professional inspection, we look at:
- Cable condition and the drum’s set at the top of the door, checking for fraying or stress
- Spring coil condition and balance under tension
- Roller wear (a quiet roller isn’t always a healthy roller)
- Track alignment and whether the door is plumb in the opening
- Hinge wear and panel seams
- Opener force, travel and safety reverse on your model
- Bolts and fasteners, which work loose with the expansion and contraction cycle here
In Dunedin, we schedule the annual check to fall after the wet season so any moisture-driven wear is caught while it’s fresh. A trained technician can spot cable fray and spring fatigue early, before they become an emergency. If you’re not sure whether your door needs a repair or a replacement, this inspection is the fastest way to find out. Expect a written estimate for anything we recommend, with the price agreed before any work starts.
Common Mistakes to Avoid
- Following a northern lubrication schedule. Twice a year isn’t enough here. The wet-dry cycle and humidity mean you need to check moving parts at least quarterly, timed around the rainy season.
- Ignoring the bottom of the door. In Dunedin, the bottom panel edge and hinge plates are where rust starts, and they’re the easiest to overlook. Check them every month.
- Lubricating the tracks. Grease on the tracks grabs sandy grit from the driveway and turns rollers into skids. Tracks should be clean and dry; the hardware gets the grease.
- Assuming the opener is the problem. A noisy or sluggish opener is often reacting to a poorly balanced door or worn rollers. A good technician diagnoses the whole system, not just the motor.
- Treating weatherstripping as optional. A failed seal lets water and insects in, and in a humid climate it speeds up corrosion on the frames and panels.
- Touching the torsion springs. They’re under extreme tension and can hurt you badly. Balance is the homeowner’s check; spring adjustment is a technician’s job.
- Skipping the safety reverse test. It takes thirty seconds with a block of wood, and it’s the single most important safety check on the door. Test it monthly.
See the difference
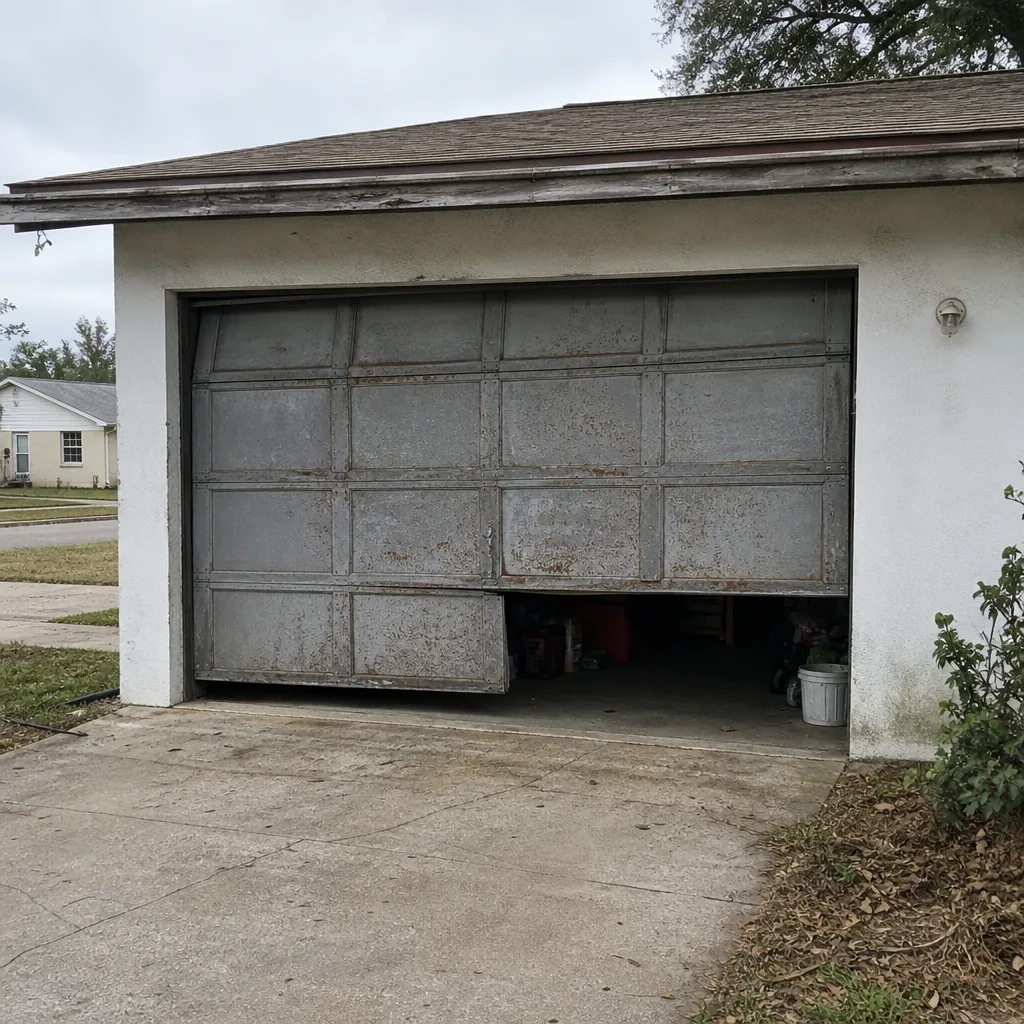 Before
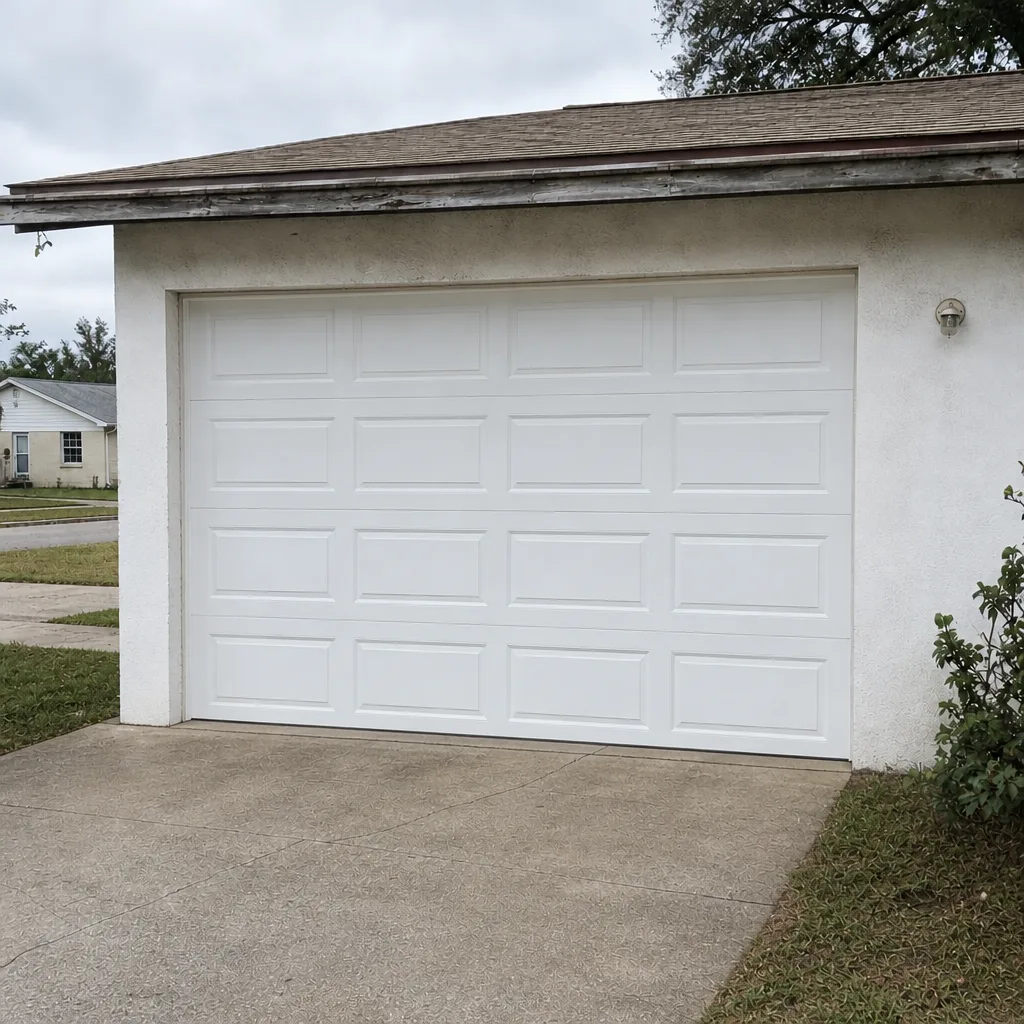 After
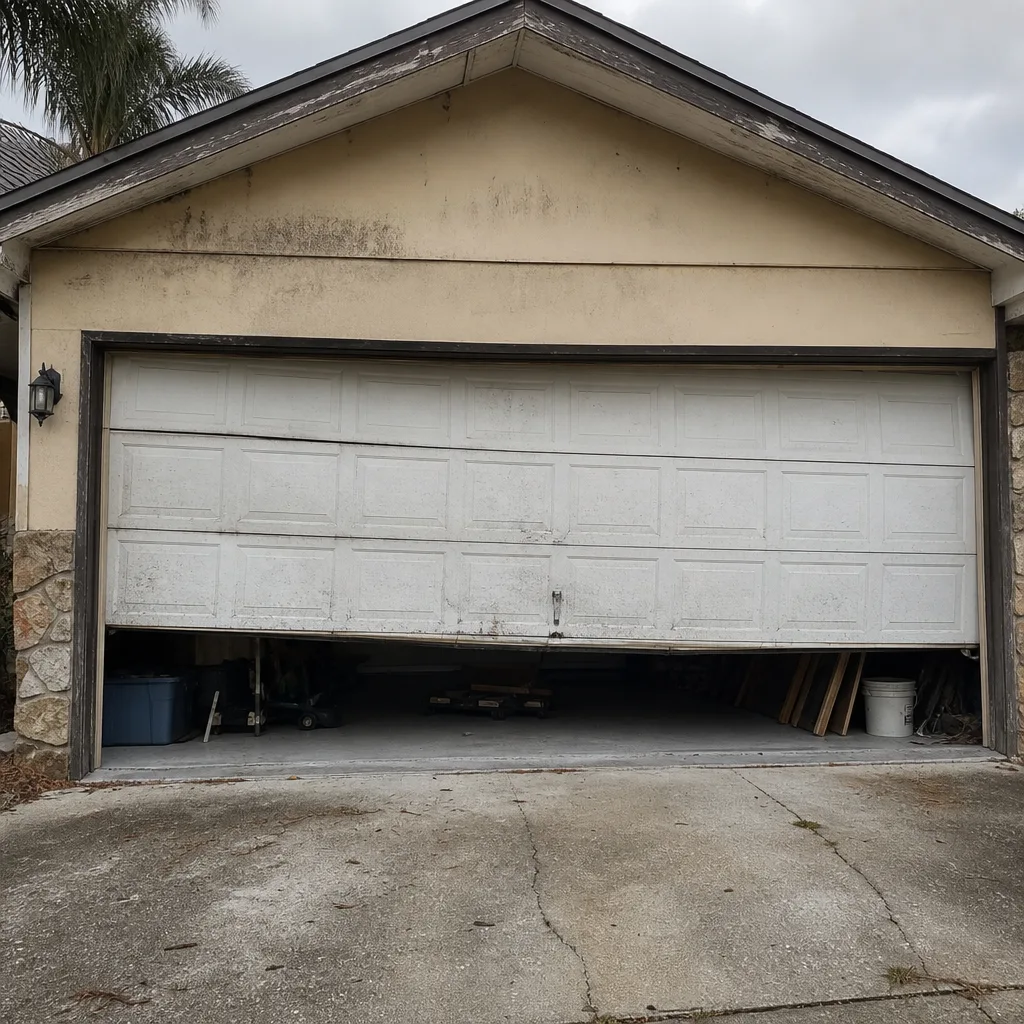 Before
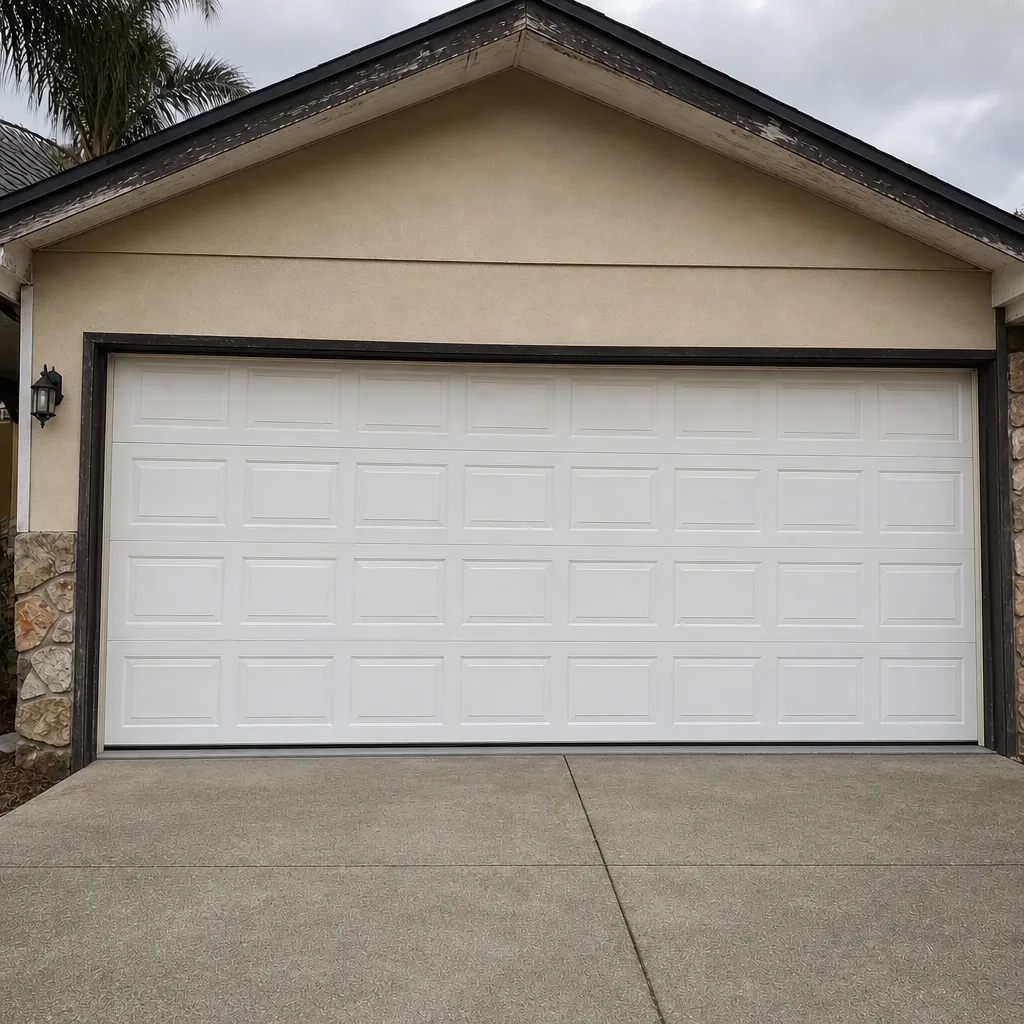 After
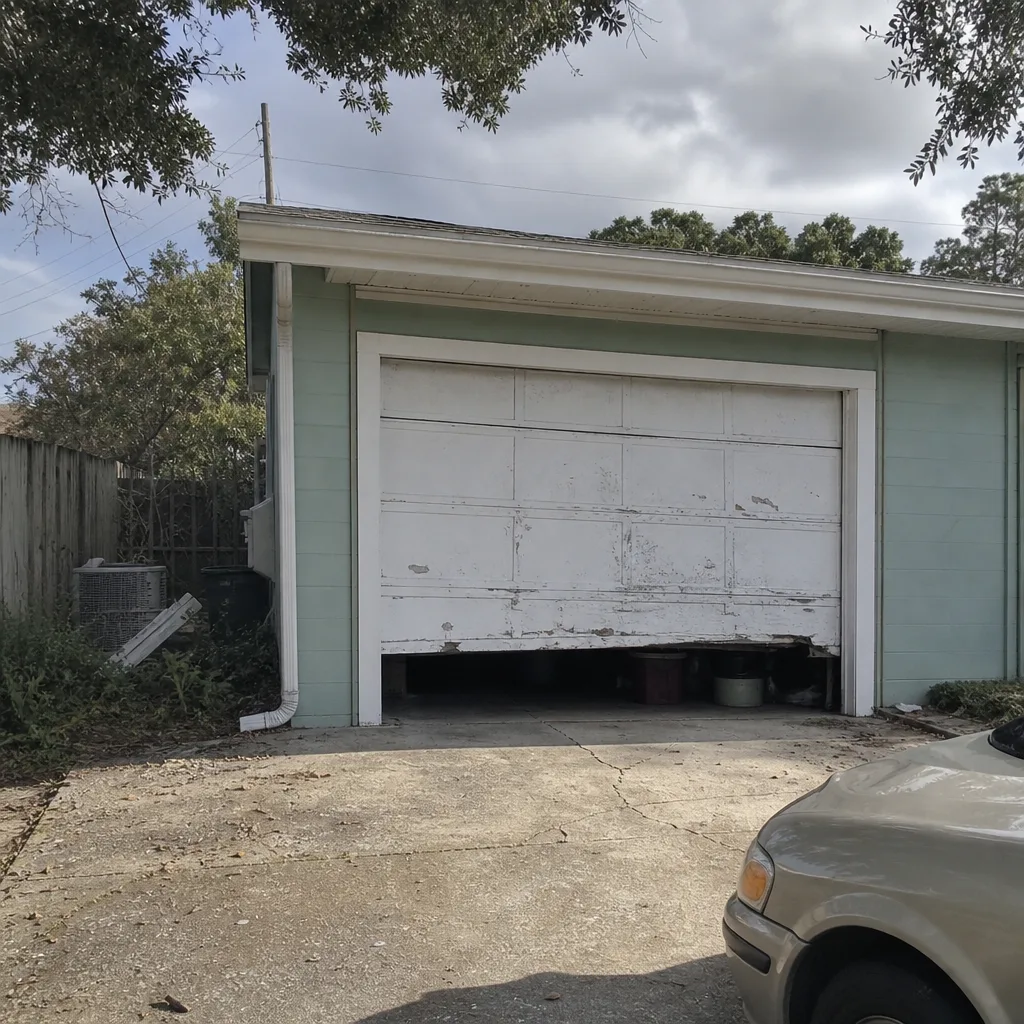 Before
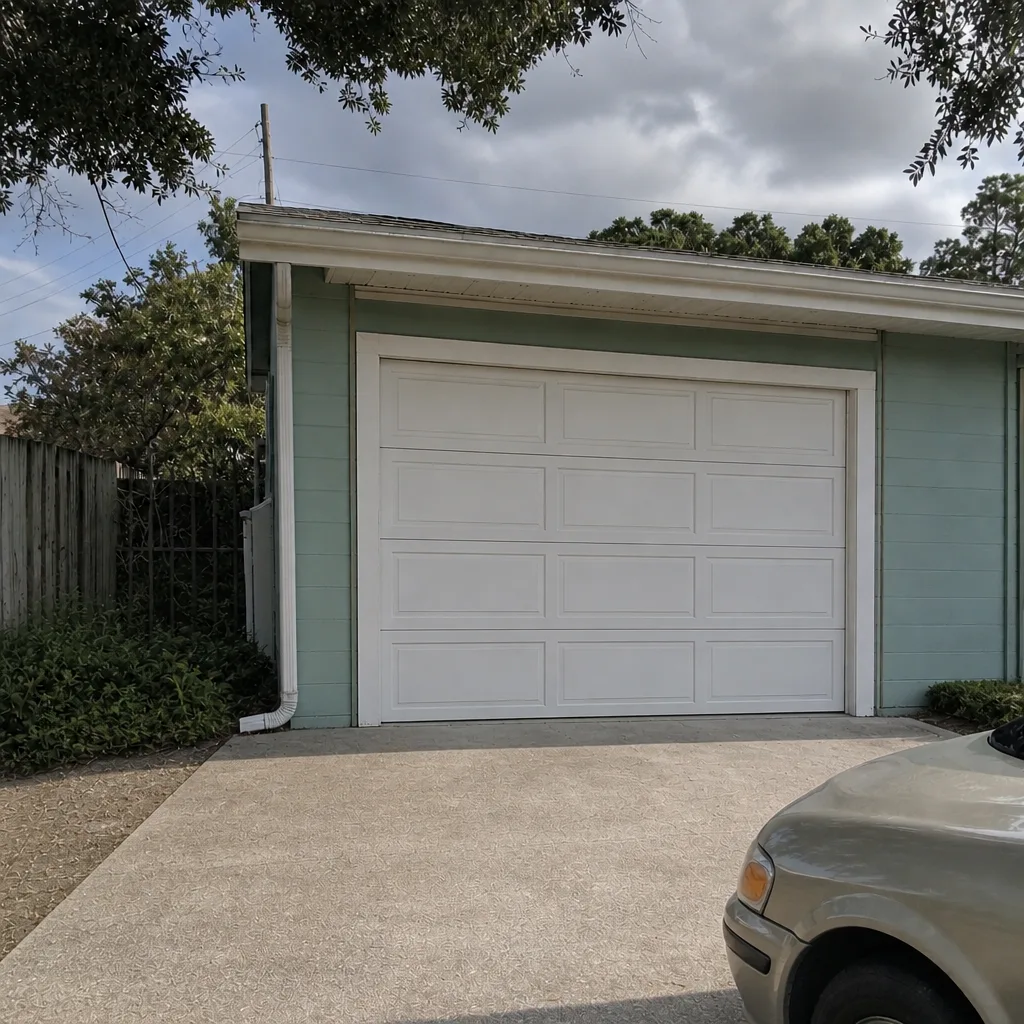 After
When to Call a Professional
Some problems are a phone call. If the door won’t open or close at all, a spring is visibly broken, the door hangs crooked, the tracks are bent, the opener runs but the door doesn’t move, or the safety reverse fails repeatedly, stop using the door and call a technician. A door stuck open leaves the house unsecured; a door stuck closed traps the car and stops the day. Those are the high-stress calls we handle. If you’re weighing a replacement versus a repair, a professional look will tell you which makes sense on your door. Garage Door Repair Dunedin offers free estimates in Dunedin, and we’ve spent years working on the brands you’ll most likely own, including LiftMaster, Chamberlain, Genie and Clopay systems. Call (877) 492-3256. We answer 24/7. Fast dispatch from 7am to 7pm, Sunday through Friday.
Frequently Asked Questions
Once a year for a professional inspection, plus monthly visual checks and quarterly lubrication on the moving parts yourself. In Dunedin, time the annual inspection to fall after the wet season so wear from the humid months gets caught early. If you use the door heavily, ask for a second inspection midway through the year.
Maintenance and repair pricing is set per job by a written estimate, and the estimate is free. We quote before any work starts, so you know the number going in. Call (877) 492-3256 for a free estimate and we’ll walk you through what the door needs.
You can safely balance-test the door by disconnecting the opener and lifting it halfway. You should not touch, adjust or attempt to replace the torsion springs themselves; they’re under extreme tension and can injure you badly. If the balance test fails, call a technician. For spring work, reach us at (877) 492-3256.
Salt air and high humidity in Dunedin speed up oxidation on unpainted or chipped steel, and water collecting on the bottom panel edge is where it usually starts. Monthly checks of the bottom corners, hinges and track bottoms will catch it early. Touch up chips promptly, and ask a technician about heavier corrosion.
Expect it to fail sooner in Dunedin than in a dry climate, because humidity and UV degrade rubber faster. When the rubber feels brittle, cracks, or pulls away from the door, replace it. It’s one of the least expensive parts on the door and it protects the panels underneath. If you want help choosing the right material for your door, call (877) 492-3256.
Not necessarily. Heat drifts the force and travel settings on nearly every opener, which is why we recommend rechecking them quarterly. Test the safety reverse monthly with a block of wood. If settings go out of spec and don’t come back, that’s when to book a Garage Door Repair Dunedin visit and have the whole system looked at.
The Bottom Line
A Dunedin garage door doesn’t need a complicated schedule. It needs the right one. Check the bottom panel edge and hinges monthly for the first signs of rust. Lubricate the moving parts before and after the wet season, not on a calendar. Balance-test the door quarterly, and leave the springs to a technician. Test the safety reverse monthly. Recheck your opener’s force and travel settings quarterly because Florida heat moves them. And get a professional inspection once a year, timed for after the rainy season. Do those things and the door lasts longer and the surprise repair bills get rarer.
When something does need hands-on work, call (877) 492-3256 for a free estimate. We work on any brand, any problem, any urgency, from a snapped spring to a full door installation. Call (877) 492-3256. We answer 24/7. Fast dispatch from 7am to 7pm, Sunday through Friday.
Written by the team at Garage Door Repair Dunedin.